
Offcanvas

When Should We Call You?

Edit Template

FAQ

Frequency Asked Question

General

Leak testers are generally of differential pressure type, and the pressure difference between the work and the master is detected by the differential pressure sensor to detect leaks. Flow testers directly measure the air flow with a laminar flow sensor or mass flow sensor.

It is a coefficient for displaying the differential pressure (Pa) generated due to leak in the work in flow units, such as mL/min. → Leak Test:The Basics and Application of Leak Test Technology:The Basics of Air Leak Tester Settings
Yes, you can. Seminars on leak testers can be held at the headquarters and sales offices of Cosmo Instruments, or also on site. Contact our sales offices for details. → List of Offices in Japan

It compensates the pressure changes (errors) caused by factors other than leaks caused by adiabatic changes. →
Leak Test:Features of Air Leak Testers

For leak testing with positive pressure, it may be possible to locate leaks with soapy water using the Charge-Hold function. (Leaks such as internal leaks may not be located.)

Depending on the product, you can download 2D and 3D data. →
Download

You can download it from our website. For products not listed on our website, contact our local sales offices. →
List of Offices in Japan

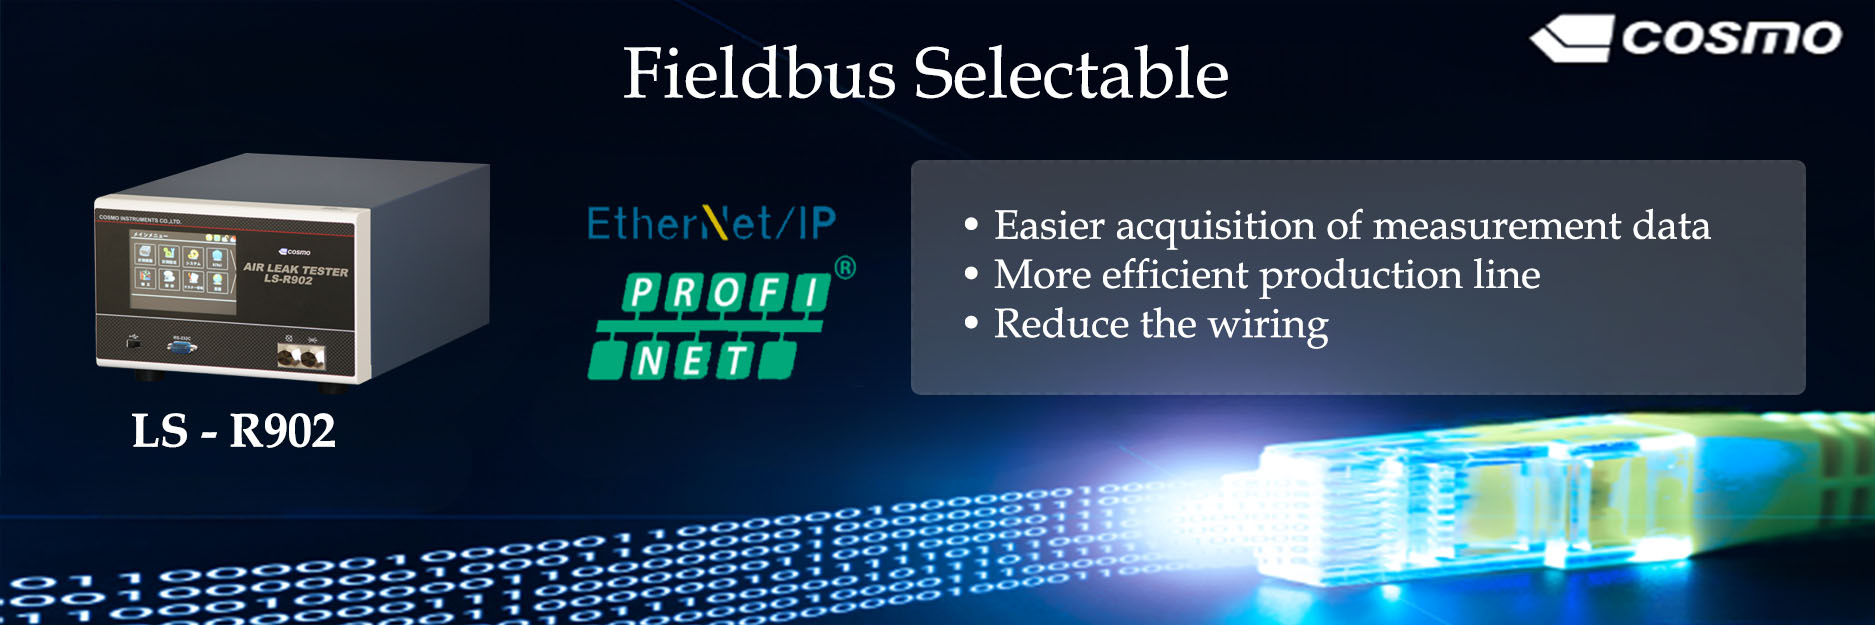
LS-R902

It is effective in reducing errors and false judgments when testing works that have a temperature difference from the ambient temperature, in cases such as after the washing process.

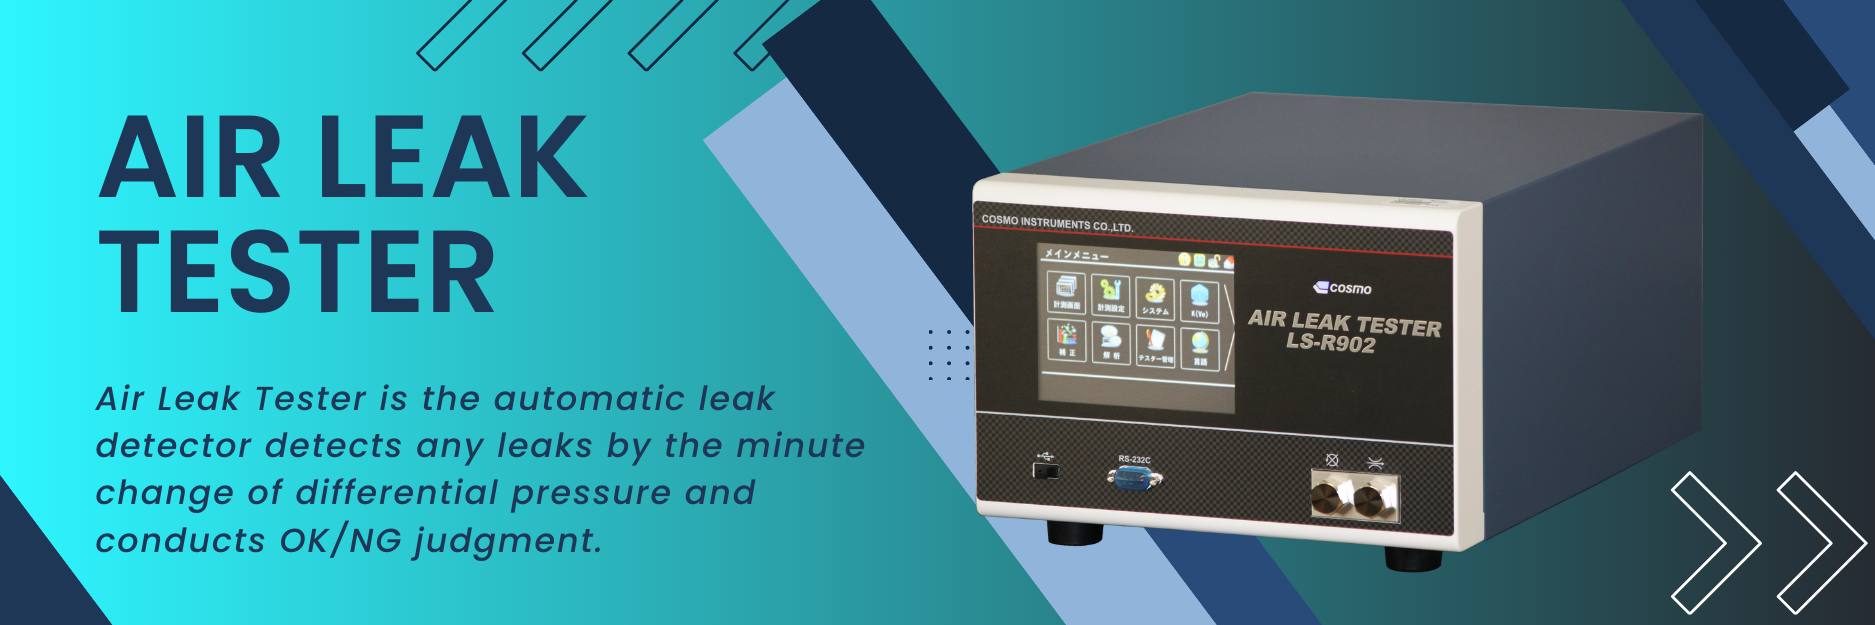
The LS-R700 is a high-performance standard type tester. The LS-R902 uses a large touch screen LCD to improve operability and visibility, and supports 7 languages.

Yes you can. Standard model is for up to 4.9 MPa. The model LS-R740SH can support up to 16 MPa.

LS-R700

For LS-R700 with option N1, they are compatible. Without option N1, they are not, since the shape of the connector is different. Conversion connector is available.

The tester stores the latest 1000 test data in its internal memory.

The appropriate number of iterations is when the sampled data begin to show almost the same values in the Mastering Value Sampling.

Use this mode if you want the test to be automatically repeated when the measured value falls in the uncertain judgment region so that more precise Pass or Fail judgment can be made.

A minimum of 400 kPa is required for the pilot pressure.

LS-R740

It is not necessary when the replacement pneumatic unit is of the same specifications.

LS-1866

It is from -95 kPa to 1.5 MPa. Four types of ranges (V, L, M, H15) are available within this range. For details, see our Product Information.→

Download

Since the option of Bypass Circuit Unit is not available, the measurement time needs to be extended. Or consider purchasing LS-R700 or LS-R902, for which the option of Bypass Circuit Unit is available.

Control I/O port and a serial communication interface are available.

The tester may be in Manual mode. Change to Remote mode. Or check the Stop signal setting (Normally Open, Normally Closed).

The input and output are compatible only with LS-1862. For compatibility with other models, our Relay Output Conversion Unit SU-10 can be used.

  • The DL3 time may be too short, or the fill valve may be malfunctioning. Extend the DL3 time a little and check again.

You can output the measurement data to an external computer or an SD card unit (sold separately) using the serial communication interface.

The tester does not have a function to save the measurement data in the tester. You can output the measurement data to an external computer or an SD card unit (sold separately) using the serial communication interface.

Use a D-sub 9-pin cross (reverse) cable.

Yes you can. Output timing: DL1 to END
Electrical specifications: 24 VDC 0.25 A (Max.)

Set the test pressure with the test pressure regulator on the rear panel of the main unit.

The test pressure cannot be automatically changed for each channel. It can be changed manually.

LS-1881

Up to 8 pneumatic circuit units can be connected.

There is no communication between the pneumatic circuit unit and the controller. No power may be supplied to the pneumatic circuit unit, or the transmission cable may have poor contact.

If a Stop signal is input from the PLC at the moment of OK/NG judgment, the above phenomenon may occur. Check the I/O signal timing.

If the touch panel does not work, connect a USB mouse (wired). You can operate the cursor on the screen with the mouse.

Currently it cannot be used.

The controller may be out of order. When it is the defect of the LCD touch panel, measurement itself may be possible. However, replace the controller promptly or contact the Service Section of our sales offices.→
Worldwide Sales and Service Network

List of Offices in India

Measurement is possible even without a USB memory. The USB memory is used to save the measurement data and back up the test parameters.

Yes you can. In that case, you need to change the settings of the I/O terminal in the control panel. A procedure manual for replacement is available. Contact the Service Section of our sales offices. →
Worldwide Sales and Service Network

List of Offices in India

Yes you can. In that case, you need to change the settings of the pneumatic circuit unit. A procedure manual for replacement is available. Contact our Service Section. →

Worldwide Sales and Service Network

List of Offices in India

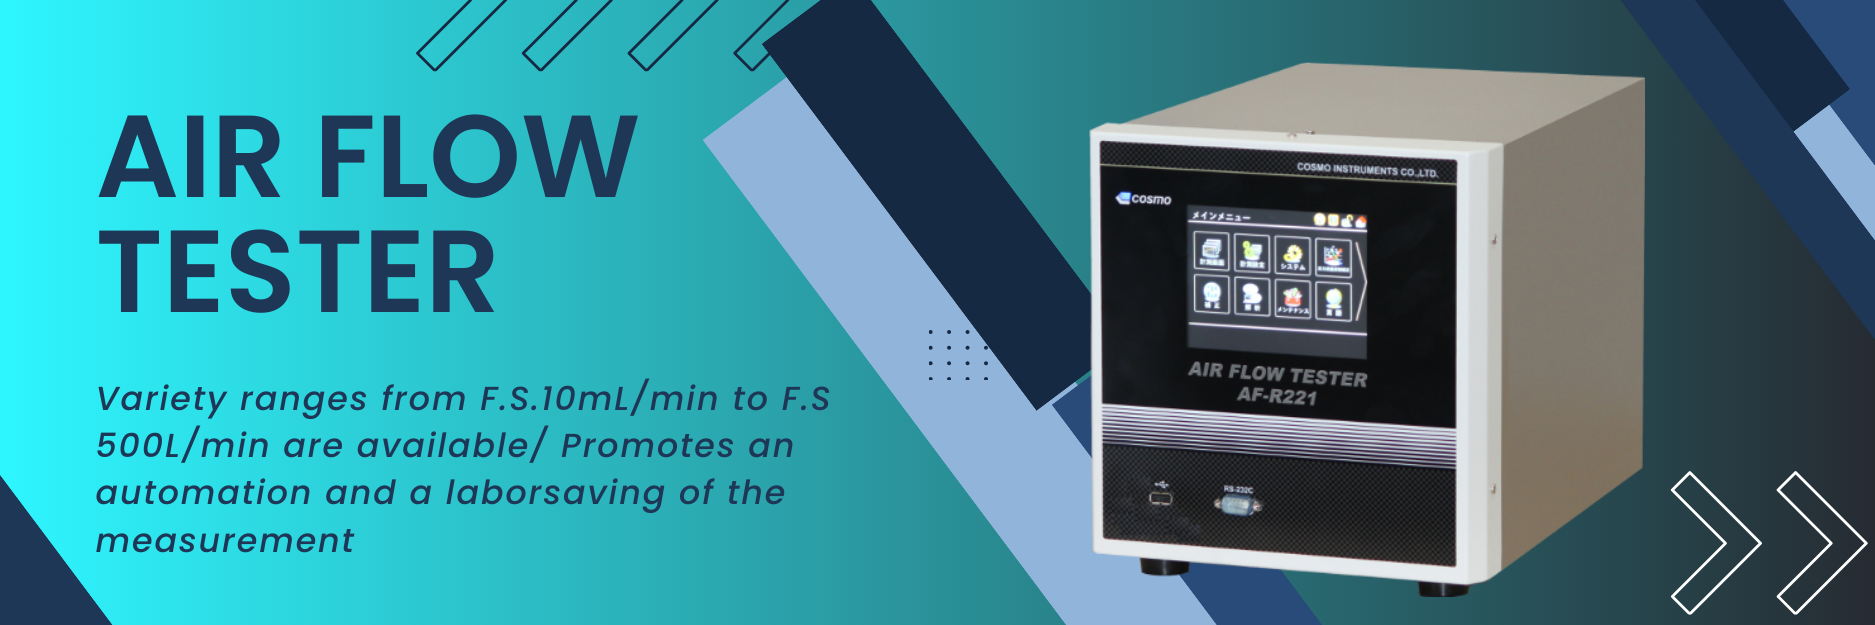
AF-R220/221

The Laminar (laminar flow tube) is a volume flow meter, and the Mass Flow is a mass flow meter.

By daily entering it, you can make more accurate measurements. If you do not have a barometer, enter 1.013 hPa (1 bar).

It may be stabilized by adding a regulator on the primary side and reducing the test pressure by one stage.

CHG Hold keeps pressurizing until Stop is tapped. DET Hold keeps measuring the flow until Stop is tapped. They are usually used to check the flow rate and search for leaks.

The measurement time may not be enough. Extend the CHG time and check again.

Pressure can be controlled with the regulator for the option L01.

It depends also on the shape of the work, etc. other than the internal volume of the work, so it depends on the conditions. Contact our sales offices.→

Worldwide Sales and Service Network

List of Offices in India

  • Since the I/O connector is different from that of AF-2201, it is not compatible. Conversion connector is available.

The AF-R220 is a tester and the DF-R280 is a meter. The DF-R280 does not have a function to automatically make judgment.

The differential pressure-type leak testers detect leaks by detecting the pressure changes between the work and the master with the differential pressure sensor. The flow testers measure air flows with the laminar flow sensor or mass flow sensor.

DP Gauge

The allowable pressure of the differential pressure type is 10 x F.S. for the range of 50 kPa or less, and 5 x F.S. for the range of 100 kPa. For the gauge pressure type, it is 2 x F.S. for the range of 50 MPa or less, and 1.5 x F.S. for other ranges.

It may deviate from the zero point due to an over pressure or others. Contact the Service Section of our sales offices. →

Worldwide Sales and Service Network

List of Offices in India

Depending on the model, functions including analog output, RS-232C output, and BCD digital output are available.

The gauge pressure models can measure non-corrosive liquids.

Leak Master

The Equivalent Internal Volume K(Ve) may be incorrect, or the sensor has a poor sensitivity. Or dirt may have entered the Leak Master so the leak rate has changed. Contact our sales offices. →

Worldwide Sales and Service Network

List of Offices in India

Use it with the acrylic cover attached. The acrylic cover has a small hole in it, so it does not affect the leak rate.

External Exhaust Valve

Select a place closer to the work and lower than the leak tester, and install it horizontally.

It cannot be installed vertically. Install horizontally.

It efficiently exhausts foreign matter such as water/oil discharged from the work in Exhaust process so that the differential pressure sensor and measuring equipment inside the leak tester can be protected.

Movelet

Check if the judgments are correct using Good and NG products as works.

The Movelet main unit (model: MV-6000 series) can be inspected at Cosmo. The sound level meter and vibration meter can be inspected at the manufacturers. The recommended inspection intervals are one year.

Yes we can issue them. Contact our sales offices. Traceability documents for the sound level meter and vibration meter are issued by the manufacturers. For details, contact the manufacturers.→

Worldwide Sales and Service Network

List of Offices in India

It depends on the work. It can measure for up to 60 seconds.

Basically measurement is possible. In some cases, however, it may be necessary to conduct on-site experiments beforehand and decide.

It depends on the work to decide which is better to use, sound or vibration, for the test. When both sound and vibration can be used, we basically use sound for the test. If the environmental noise has a significant impact, we use vibration.

No units are used since the Movelet uses its unique Movelet filter. Judgment is based on the relative values of sound/vibration intensity. Eight types of judgment parameters are available for judgment method.

We use the sound level meter for sound. We use the vibration meter for vibration.

Basically, not possible. Think of it as a measuring instrument that replaces sensory test.

Simultaneous measurements are not possible. However, using a multiplexer (distributor) and making switchings makes it possible.

Cosmo Super Gel

Free samples are available. Let us know the size, hardness and quantity you want. In some cases, we may charge for the samples.

Contact us for the required materials/data from the Download or Contact page on our website. We will contact you to inform the availability.→

Download

Yes you can. Send us a shape drawing and let us know the hardness and quantity you want. We will contact you to inform the molding availability and send you our quotation.

Yes you can. For our standard gel sheets in stock, we accept orders even for one sheet. For gel round bars and square bars, we accept orders for the minimum delivery quantity and above. Contact us.→

Contact

Yes we can. However, we do not directly deliver to overseas destinations. Two ways are available: You purchase through our overseas sales office; Your order is shipped overseas by the distributor in Japan of other company. Contact us.→

Contact

Service and Repair

You can replace if their specifications are the same. Since we need to check the details, contact us . →

Contact

We recommend annual inspection or calibration by the manufacturer, or both.

Refer to the “Troubleshooting” in the operation manual to identify the cause of Fail.

When the battery is completely discharged, data such as compensation values, date & time, and error log will be lost. Replace the battery as soon as possible according to the operation manual.

Contact the Service Section of our sales offices or see the “Prices for Inspection Services in Japan” on our website.→

Warranty/Service:Prices for Inspection Services in India

Products that are older than 10 years may not be repaired depending on the defect.
For the latest information, see the “Notice About Repair Service for Previous Products” on our website.→

Warranty/Service:Notice About Repair Service for Previous Products

We may be able to meet your request (for a fee). However, depending on the availability, we may not be able to meet your request.

Contact the Service Section of our sales offices or see the “Traceability” on our website.→

Warranty/Service:Traceability

Inspection is to inspect the equipment according to a certain standard and show whether it can be used. Calibration is to certify the readings with measurement uncertainty to use them. Although ISO and JIS make a clear distinction between inspection and calibration, we sometimes use the customary expression of “calibration”. For details, contact the Service Section of our sales offices. →

Worldwide Sales and Service Network

List of Offices in India

Overseas

Yes you can. We recommend inspection by the manufacturer before export. For the Parameter Sheet, etc., contact our sales offices. →

Worldwide Sales and Service Network

List of Offices in India

The plug is Kawasaki Electric Wire’s KP4819D.

ISO/IEC 17025

We do not issue calibration certificates not traceable to the SI units. We cannot perform the calibration of products for which SI units cannot be used. Also we cannot convert non-SI units to SI units to issue calibration certificates.

Information

Constructing a new building for office and plant in Manesar, Gurugram, Haryana to expand business.
Started a new venture manufacturing plant at Bengaluru.
Took a new shed in Chennai to expand manufacturing business.

© Copy Rights 2024 Cosmo Instruments India Pvt. Ltd.

Please fill the form to download.


Only those who have agreed to the "Personal Information Protection Policy" can send.